Running bitthunder on the raspberry pi
As a part of skyscreen, I’ve been looking at running a real time operating system on the raspberry pi.
Now, I’m not an embedded developer, so a lot of little tricks were new to me - and I’d guess they’re new to you too, so I’ll try to document as many of the tricks I used, and hurdles I overcame, to get it to work.
Bitthunder
I wanted to use bitthunder on the pi. There were a bunch of reasons:
- Nice docs. Never underestimate the importance of documentation
- From all his posts, james walmsley, the author, seems like a patient and responsive person! Which will be great when I hit problems later on!
- A firm base, from freeRTOS
Building an image
You can clone bitthunder from the repo:
git clone https://github.com/jameswalmsley/bitthunder.git
You’ll need to grab kconfig; all this is documented in bitthunder, so I won’t cover it.
These instructions work on the master branch, for comit hash: 25f1c1b4d0d33653635d280e554c848fe2e3f7b1
Creating somewhere for your code
In order to keep the bitthunder code and your code separate, you shouldn’t work directly within the bitthunder codebase. To make this easy, there’s a special make target which will fill out a project with everything you need to start coding.
Simply run:
make -C <PATH TO BITTHUNDER> PROJECT_DIR=$(pwd) project.init
This will fill out the directory with everything you need. The next step is to configure it.
Configuration options:
Now that you have your code, it’s time to configure your hardware. The really nice thing about the pi is that often someone else has done the hard work of configuration for you, and bitthunder is no exception.
Simply run make menuconfig (in your project directory), and select the pi:
System Architecture ->
    ARM chip selection ->
         select the BCM2835
    BCM2835 Boards ->
         select your model of pi
Save this config, and exit, then execute:
make defconfig
This will copy in a pre-prepared raspberry pi config, so you don’t need to fuss with the other options.
You can then run make and it should compile happily.
Adding your own code
You do need to do this. The default main.c will not do anything interesting. You can easily make it flash an LED though, so let’s do that!
Overwrite main.c with:
#include <bitthunder.h>

int main() {
	#define LED_GPIO_ID 16                                // This is for the pi model B
	BT_GpioSetDirection(LED_GPIO_ID, BT_GPIO_DIR_OUTPUT); // Set the pin to be output
	int v = 0;

	while(1) {
		BT_ThreadSleep(250);                          // Wait a quarter second
		BT_GpioSet(LED_GPIO_ID, v);                   // Set the output high or low
		v = !v;                                       // and flip the output variable
	}
}
Run make again! I hope it worked! This creates a few interesting files. The one we want is vmthunder.img
Uploading to the pi
The pi has an interesting boot system. Here’s how to upload your file.
- Format an SD card with fat32
- Download the following files from the raspberry pi repo
start.elfbootcode.bin
- Copy
start.elf,bootcode.binto the SD card - Copy the created
vmthunder.imgto the SD card renaming it tokernel.img - That’s it! Put it in the pi and boot it!
Results
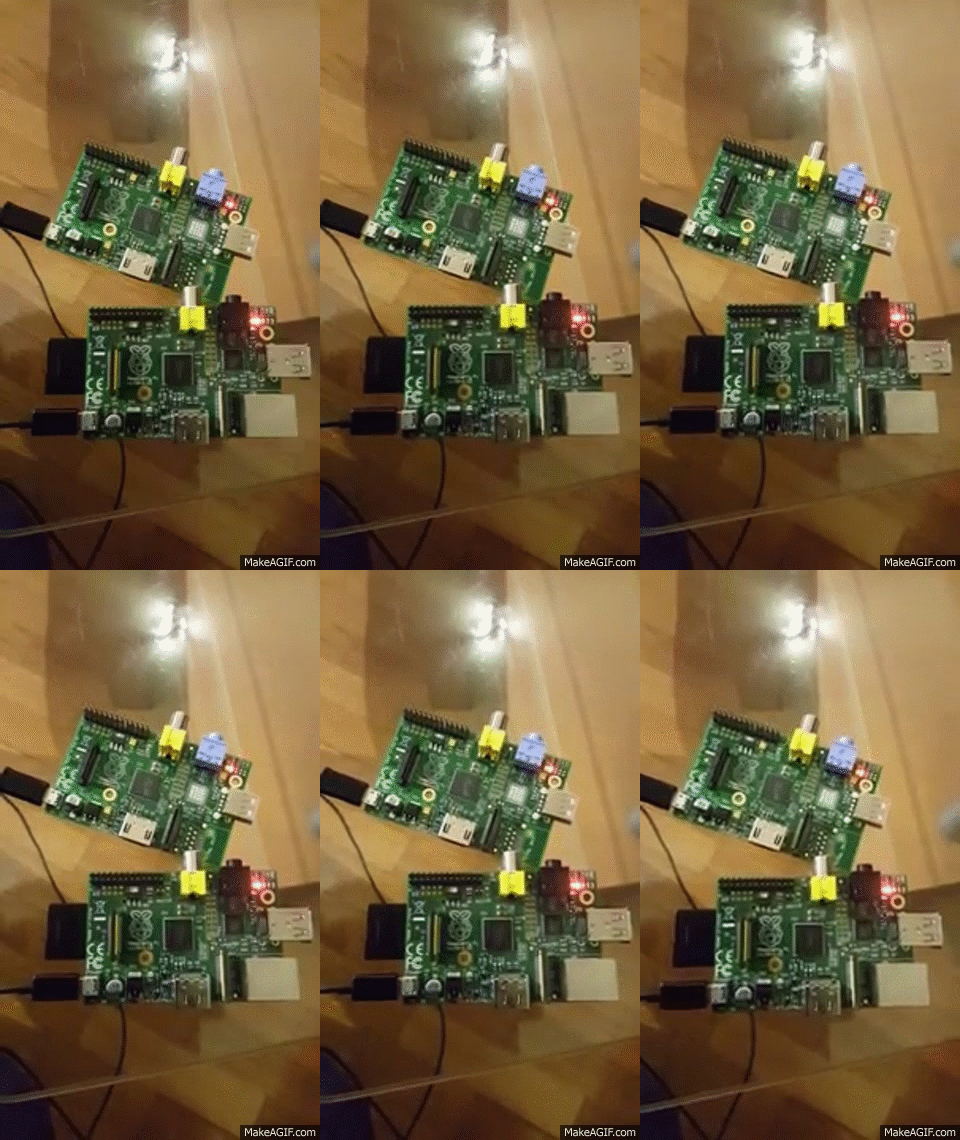
With any luck, you’ll see the LED blinking. And now you know how to create projects and get them running, the rest is up to you. Here’s a photo of both an A and B model blinking together:

Notice that only one of them has an SD card. I didn’t have two lying around, but once the program is in RAM, it runs happily without the card. Just an interesting difference between Linux and a more bare-bones OS. Although that said, Linux doesn’t crash right away when you yank the HDD either.
Troubleshooting
If you had trouble, I’ve added my own kernel images, that I’ve confirmed working on my pi. Just decompress onto your SD card.
I also sometimes found uploads would fail. Probably because I didn’t have a good SD card, and I never unmounted it properly. Anyway, in these cases, copying the image onto the SD card and going again normally did it.