Running hardware on the Raspberry Pi with Rust
Summary
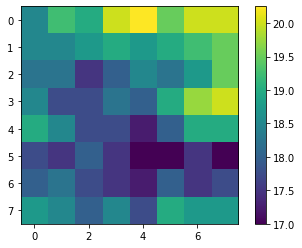
Recently, I’ve been playing around with a little 8x8 infrared camera, the AMG8833. I’ve been running it on a raspberry pi zero, using Rust, so I thought it might be useful to share with the community:
- How I compiled rust code for the pi with minimal pain
- How to access I2C in rust to talk to embedded peripherals
I learned all this stuff because I’ve been building a device to turn my lights on and off in my house as people change rooms. I’ll explain all of the work in several posts, covering topics including the ML techniques I used and how I ran deep learning code on the pi.
Compiling code with Cross
The last time I tried to compile rust code for the pi, I found two options. Either:
- Spend forever mucking around with tool chains on my mac. I found this very difficult, and gave up.
- Compile rust code on the pi itself, which is frustratingly slow, so I gave up.
Luckily, I’ve found a convenient solution! The cross project by the rust embedded team was a joy to use.
Simply run:
cargo install cross- Ensure docker is running
- Run
cross build --target arm-unknown-linux-gnueabihf(for my pi zero).
This was the basis for the whole project, without the cross project I’m sure I’d have given up on rust quickly.
Talking I2C on the pi in Rust
The rppal project provides I2C tools for the pi in rust.
These made it easy to talk to my AMG8833 sensor, simply by copying the approach shown in the open source C++ libraries for Arduino.
You can access the code on gitlab, it provides a simple interface to the device:
AMG8833::new()sets up the interface with the deviceread_thermistor()reads the internal temperature sensorread_pixels()reads the pixels.
I particularly like the return type of read_pixels where the array sizes (8x8) are encoded in the return type ([[f64, 8], 8])!
Super nice!
Hardware setup
For reference, here’s a photo of the hardware setup. I 3D printed a small enclosure for the pi, along with a little swivel mount based camera head. I’ve also included photos of the wiring layout I used for the camera, in case you’re creating this setup for yourself.
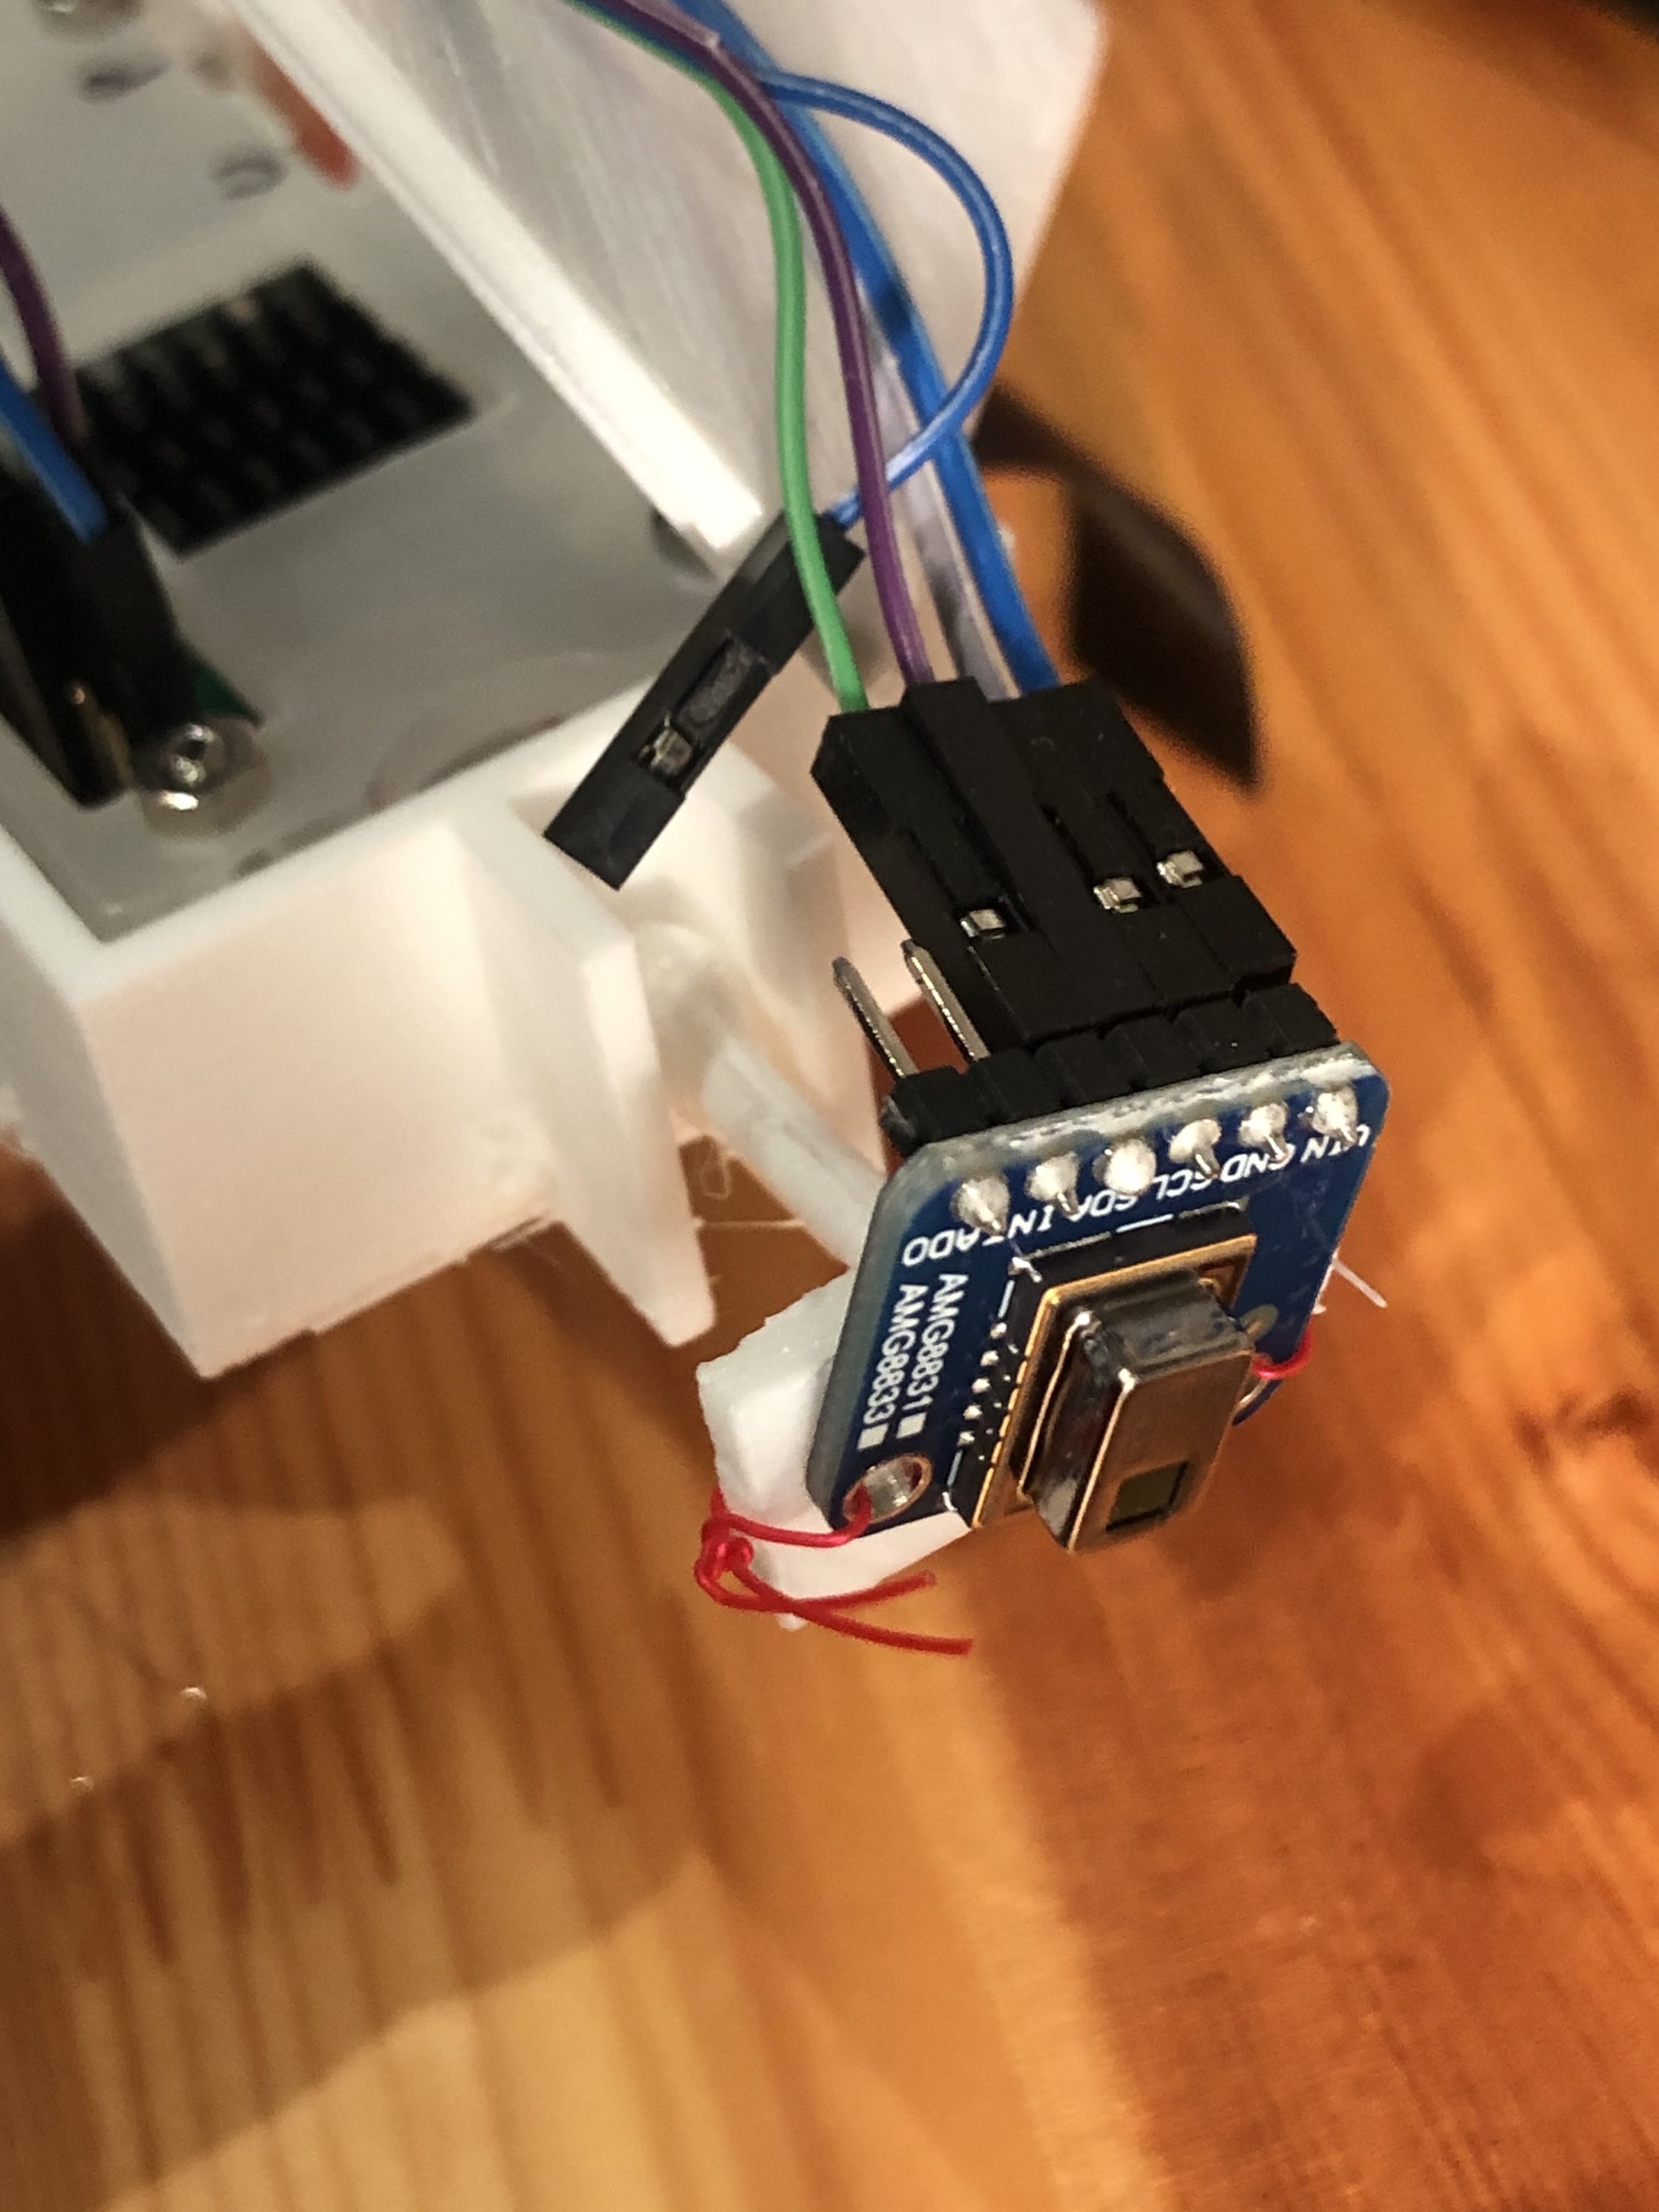
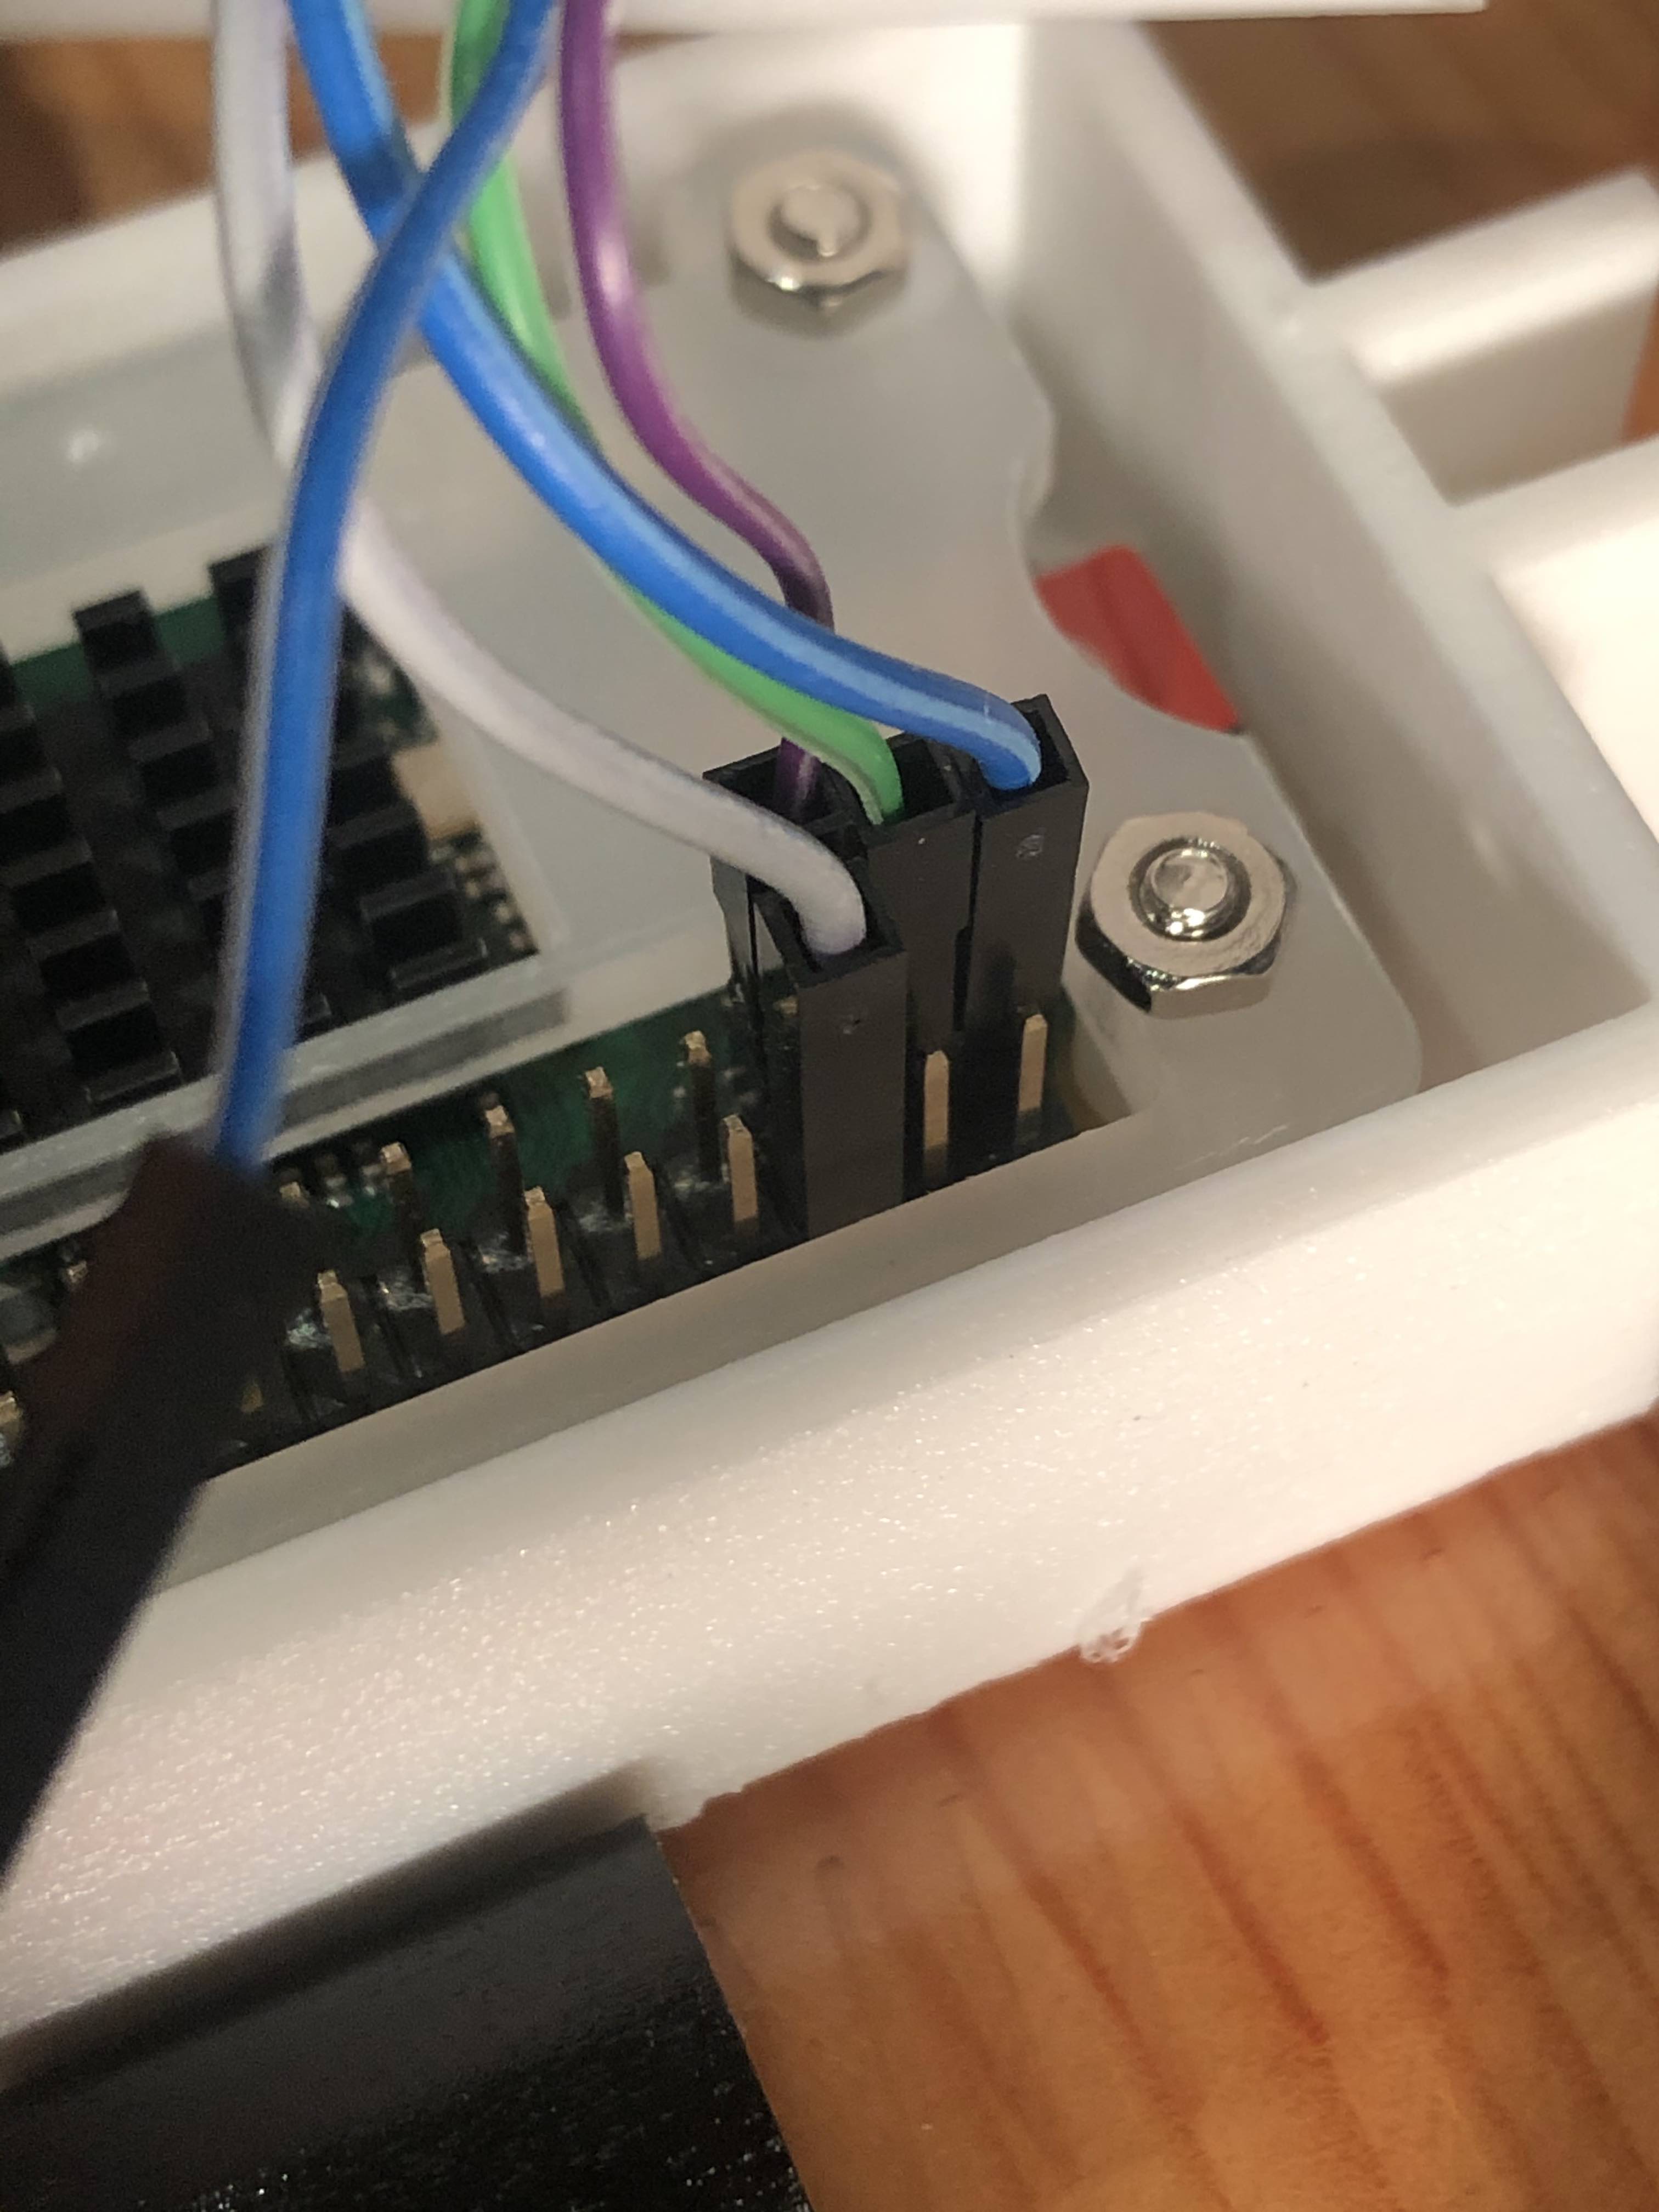
You can download all the 3D print files from the repository.
Results
Here’s a recording of the compilation process - much much faster than on the pi itself!
This is what the output looks like - perfectly adequate for my use case.